To get started with Cisco Intersight, we will complete the following steps:
- Create a Cisco Intersight Account (you will need a cisco.com login ID to do this, create one here)
- Claim a new device
- Upgrade License tier to Essentials.
Before we start, I’d like to cover a bit of Intersight terminology. All supported systems are connected to Cisco Intersight through what is known as a Device Connector that’s embedded into the management controller of each system. The device connector basically provides a secure way for the connected devices to send information and receive control instructions from Cisco Intersight using a secure Internet connection.
Next you must claim a device for use with Cisco Intersight. You will need the device ID and claim code, both of which are unique to the device and retrieved from the device. Here’s an example of some of the devices that can be claimed by intersight including their device connector location:
| Devices | Device ID Format and Example | Device Connector Location |
| UCS Domain |
Serial ID of the primary and subordinate FIs in this format: Serial number of FI-A & Serial number of FI-B |
From Admin > Device Connector in Cisco UCS Manager |
| Cisco UCS C-Series Standalone server | Serial Number | From Admin > Device Connector in Cisco IMC |
| Cisco UCS Director and Cisco Data Center Network Manager (DCNM) | Device ID |
From Administration > Device Connector In Cisco UCS Director From Administration > DCNM Server > Device Connector in Cisco DCNM |
| Cisco Application Policy Infrastructure Controller (APIC) | Device ID made up of the serial ID of the APIC nodes | From System > System Settings > Intersight > Intersight Device Connector in Cisco APIC |
For more details about the Intersight signup I recommend you review the comprehensive help guide: https://intersight.com/help.
CREATE A CISCO INTERSIGHT ACCOUNT
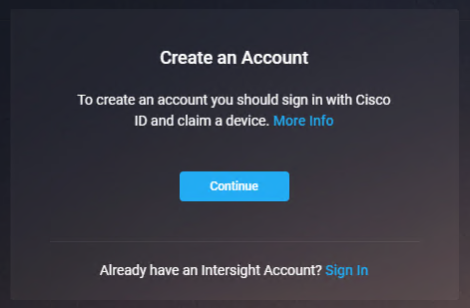
Visit https://intersight.com/ and select create an account.

Next, you’ll need to sign in with your Cisco ID and claim your first device by selecting Continue.
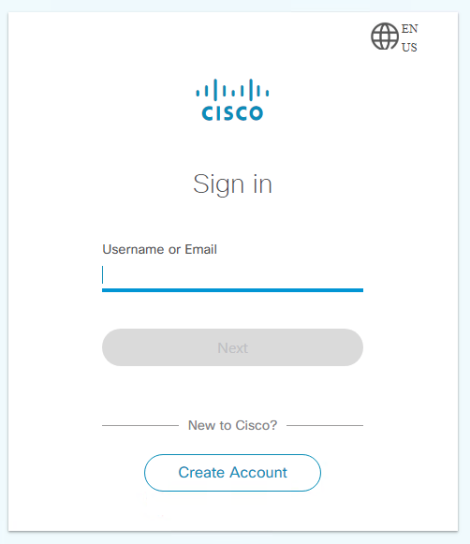
Add your Cisco ID username/email, select Next, then add your password and select Sign In.
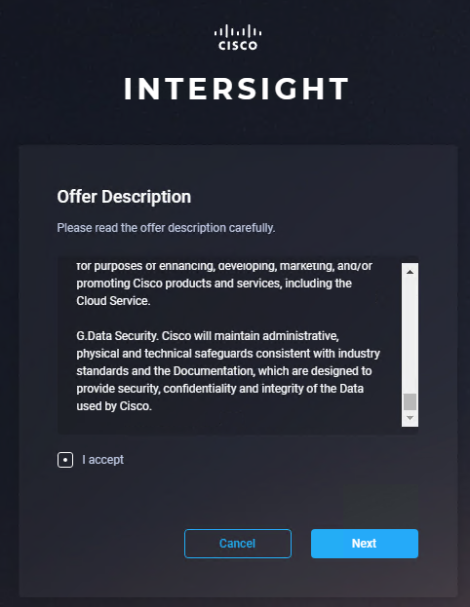
Review the Offer Description, accept the terms and select Next.
CLAIM A NEW DEVICE
At this point you need to enter the following details to claim your first device:
- Account Name
- Device ID
- Claim Code.
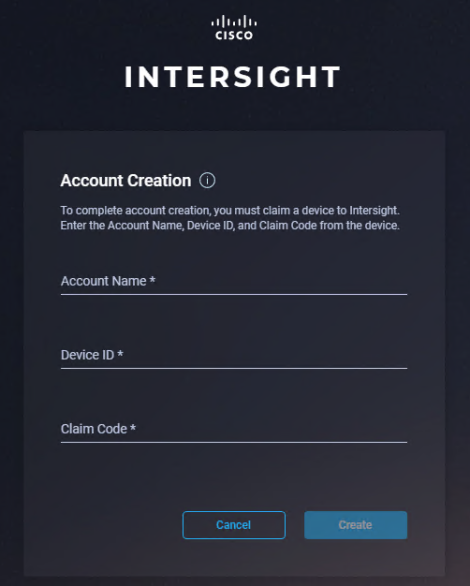
Using the table provided above, go to the device connector location of the device being claimed and cut/paste the Device ID and Claim Code and select Create. (In this case I’m using UCS Manager and I went to Admin > Device Connector).

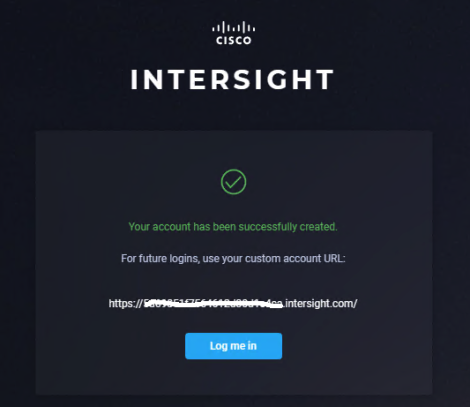
Once you have successfully claimed your first device you can now login to Intersight by selecting Log me in.
This will provide you with access to the main Intersight dashboard.
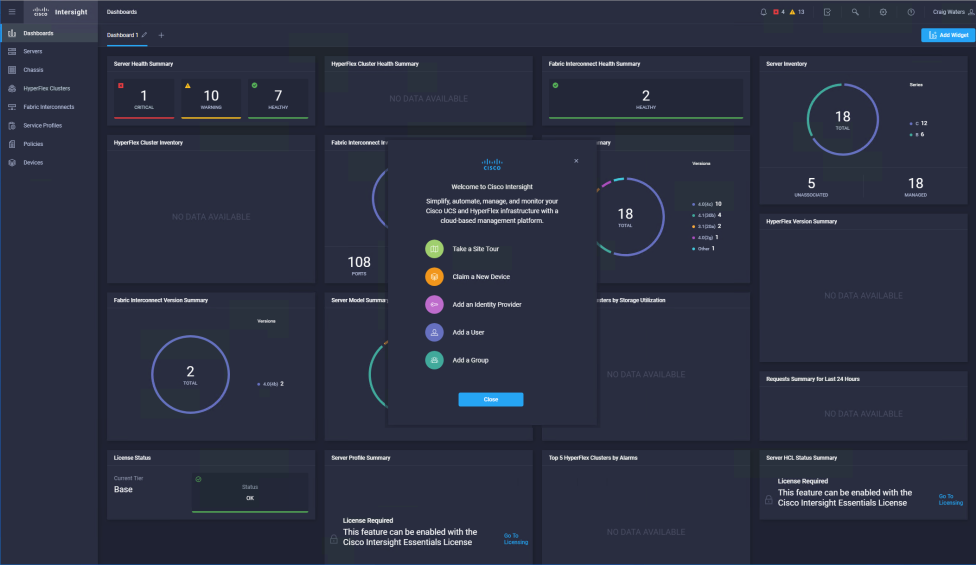
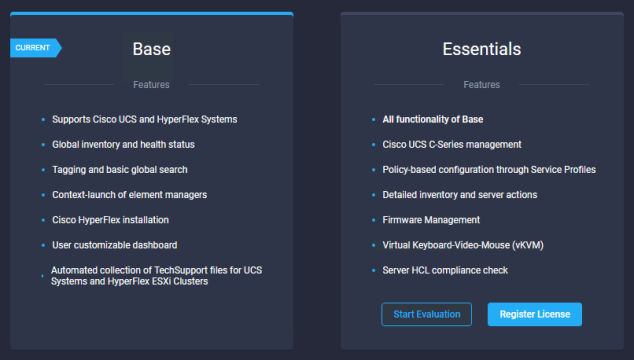
UPGRADE LICENSE TIER TO ESSENTIALS
The last thing we’re going to do is go into settings (cog icon in the top right hand corner), select Licensing and either start an Evaluation or Register your license for Essentials.
JOIN THE BETA
You need to sign up for the beta program to get access to the Cisco Intersight Assist virtual appliance. Please contact your Cisco sales team to request access. As part of the beta process, you can try out the new integration if you already have a Cisco Intersight Essentials Subscription. If you haven’t subscribed to Cisco Intersight yet, you can sign up for an “all-you-can-eat” 90-day free trial that provides Essentials-level access, which enables you to try the integration.
STAY TUNED
This post is the second of a multi-part series. Read my first post:
Future posts will cover:
- Intersight Assist Deployment and Configuration
- FlashArray device claim through Intersight Assist
- Inventory Visibility, Health Status and Active Management of Pure FlashArray.