This post I will talk about using PowerCLI to run a test failover for VVol-based virtual machines. One of the many nice things about VVols is that in the VASA 3.0 API this process is largely automated for you. The SRM-like workflow of a test failover is included–so the amount of storage-related PowerShell you have to manually write is fairly minimal.
- PowerCLI and VVols Part I: Assigning a SPBM Policy
- PowerCLI and VVols Part II: Finding VVol UUIDs
- PowerCLI and VVols Part III: Getting VVol UUIDs from the FlashArray
- PowerCLI and VVols Part IV: Correlating a Windows NTFS to a VMDK
- PowerCLI and VVols Part V: Array Snapshots and VVols
- PowerCLI and VVols Part VI: Running a Test Failover
With VVols, you don’t really failover a single VM, you fail over a replication group. While it is certainly possible to just recover a single VM from that failover etc, I will, for this blog post, show failing over the entire group.
Get your replication group
So the first step is what group? Well most likely you are working from the VM side first. So for a given VM, what replication group am I failing over?
This is fairly simple to figure out. If you have a vm object from get-vm, you can use get-spbmreplicationgroup to find the associated group.
So if I have a VM called vm-001 I will store it in $vm:
|
1 |
$vm = get-vm vm-001 |
Then I can get the replication group from that:
|
1 |
sourceGroup = $vm |Get-SpbmReplicationGroup |

Get target replication group
The next step is to get the target replication group, as this is what you are actually going to run the test failover against. Every source replication group has a target group on the replication side.
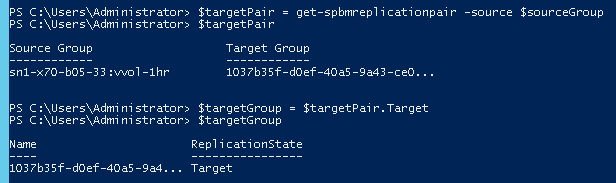
To find the target replication group you can use the get-spbmreplicationpair and pass in your source group.
|
1 |
$targetPair = get-spbmreplicationpair -source $sourceGroup |
Note, this will not return the target group by itself, it will return the group pair, meaning the source group and the corresponding target group. You can store the target group by pulling it from the response.
|
1 |
$targetGroup = $targetPair.Target |
Optional: Choose a Point-in-Time
The next step is optional. Do you want to failover to a specific point-in-time? If you do, you can query the available point-in-time’s available. Otherwise, skip this step.
|
1 |
$targetPiTs = $targetGroup | Get-SpbmPointInTimeReplica |
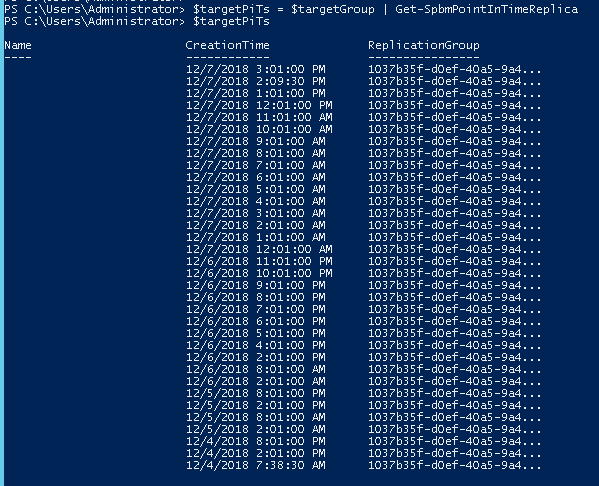
You can choose the desired PiT by indexing to the right one. So If I want the second to the last, I can just choose $targetPiTs[1]

Building the VVol Map
The last part is building what is called the VVol map. This indicates what VMs and what disks belong together. Every VVol has a UUID, and those UUIDs are stored in the VMX file and the corresponding VMDK files in the config VVol. These references need to be updated to the UUIDs for the VVols that are created from the PiT on the target site. The config VVol, which holds all of these files, is identically replicated, so the VMDK pointers will have references to the old UUIDs of the data VVols on the source side. The recovered data VVols will have new UUIDs. The test failover cmdlet will automatically update the files, but you do need to specify the source IDs.
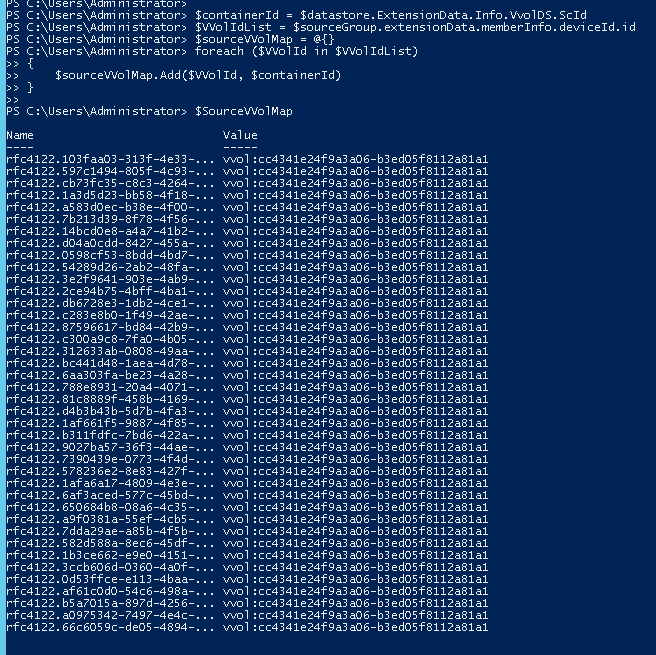
This needs two things, the source VVol UUIDs and the source VVol datastore container ID.
The VVol datastore container ID is simple enough:
|
1 2 |
$ds = get-datastore FlashArray-VVolDS-FA1 $containerId = $ds.ExtensionData.Info.VvolDS.ScId |
|
1 |
$VVolIdList=$sourceGroup.extensionData.memberInfo.deviceId.id |
|
1 2 3 4 5 |
$SourceVVolMap = @{} foreach ($VVolId in $VVolIdList) { $SourceVVolMap.Add($VVolId,$containerId) } |
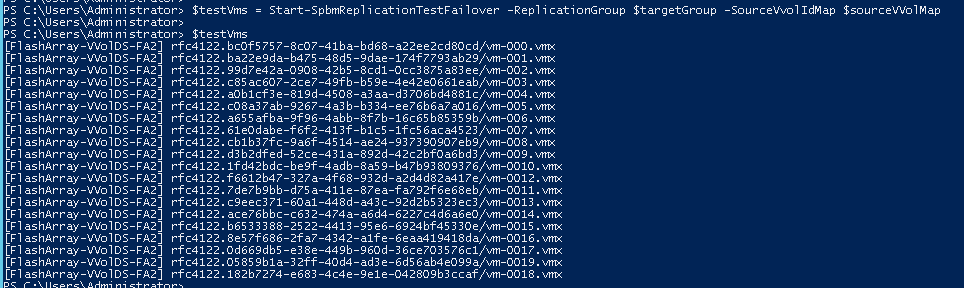
Run Test Failover
|
1 |
$testVms = Start-SpbmReplicationTestFailover -ReplicationGroup $targetGroup -SourceVvolIdMap $sourceVVolMap |
|
1 |
-PointInTimeReplica $targetPiTs[1] |

|
1 2 3 4 5 6 |
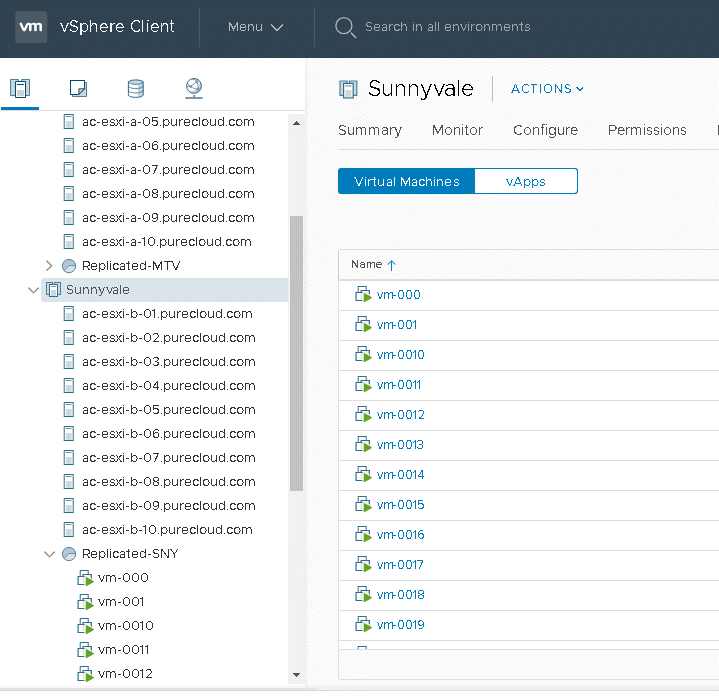
$registeredVms = @() foreach ($testVm in $testVms) { $registeredVms+=New-VM-VMFilePath $testVm-ResourcePool Replicated-SNY } $registeredVms |Start-VM |
Clean up
|
1 2 3 |
$registeredVms | stop-vm -confirm:$false $registeredVms | remove-vm -confirm:$false |
|
1 |
Stop-SpbmReplicationTestFailover -ReplicationGroup $targetGroup |