Pure Storage has an automation Python toolkit that helps get you started managing the FlashArray so you don’t have to deal with the direct REST work in your Python scripts. You can find information about that here:
https://pythonhosted.org/purestorage/index.html
I am just using the standard Windows Python install. I’m probably more of a fan of his methods, but this method is a bit simpler if you just want to get your feet wet quickly. So first, install the latest version of Python for Windows, you can get that here.
Pretty simple install. Then open a Windows command prompt.
We need to install the Pure Storage module, which is pretty easy as PIP is built into this version of Python. So cd into C:Python27Scripts or where ever you installed Python and run the following:
|
1 |
pip.exe install purestorage |
You should see it successfully install, only takes a few seconds.
To verify the module and version you can run:
|
1 |
pip.exe freeze |
The nice thing about this, is that you do not need to directly download anything, it will grab it off the net automatically.
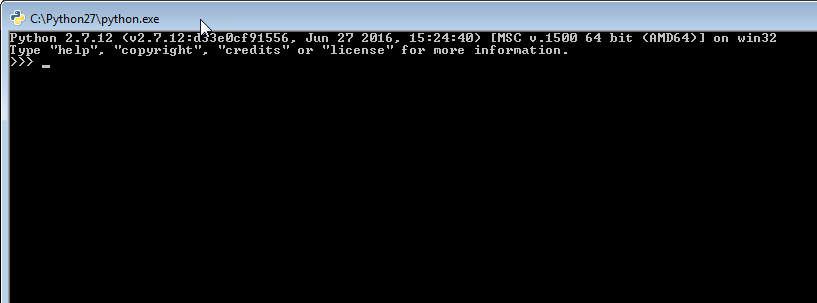
Now launch the Python CLI tool.
Import the purestorage module with the following command:
|
1 |
import purestorage |
Now you can run Pure Storage commands! Instantiate an array like so:
|
1 |
array = purestorage.FlashArray(“csg-fa420-1.purecloud.local”, “pureuser”, “pureuser”) |
If you see an error like below, you need to fix your certificate problems, or you can have it ignore cert errors.
So you need to import requests and then disable these warnings so you don’t see them anymore:
|
1 2 3 |
import requests from requests.packages.urllib3.exceptions import InsecureRequestWarning requests.packages.urllib3.disable_warnings(InsecureRequestWarning) |
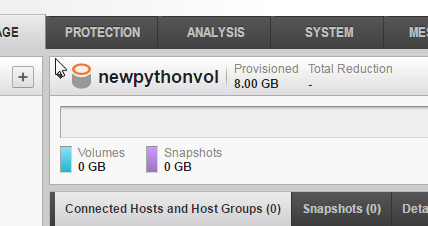
Try the array connect command again and it will create an array object and connect to the FlashArray to create an authenticated session. Now you can run commands, like creating a volume etc:
|
1 |
array.create_volume(“newpythonvol”, “8G”) |
Done!
Stay tuned for more.


